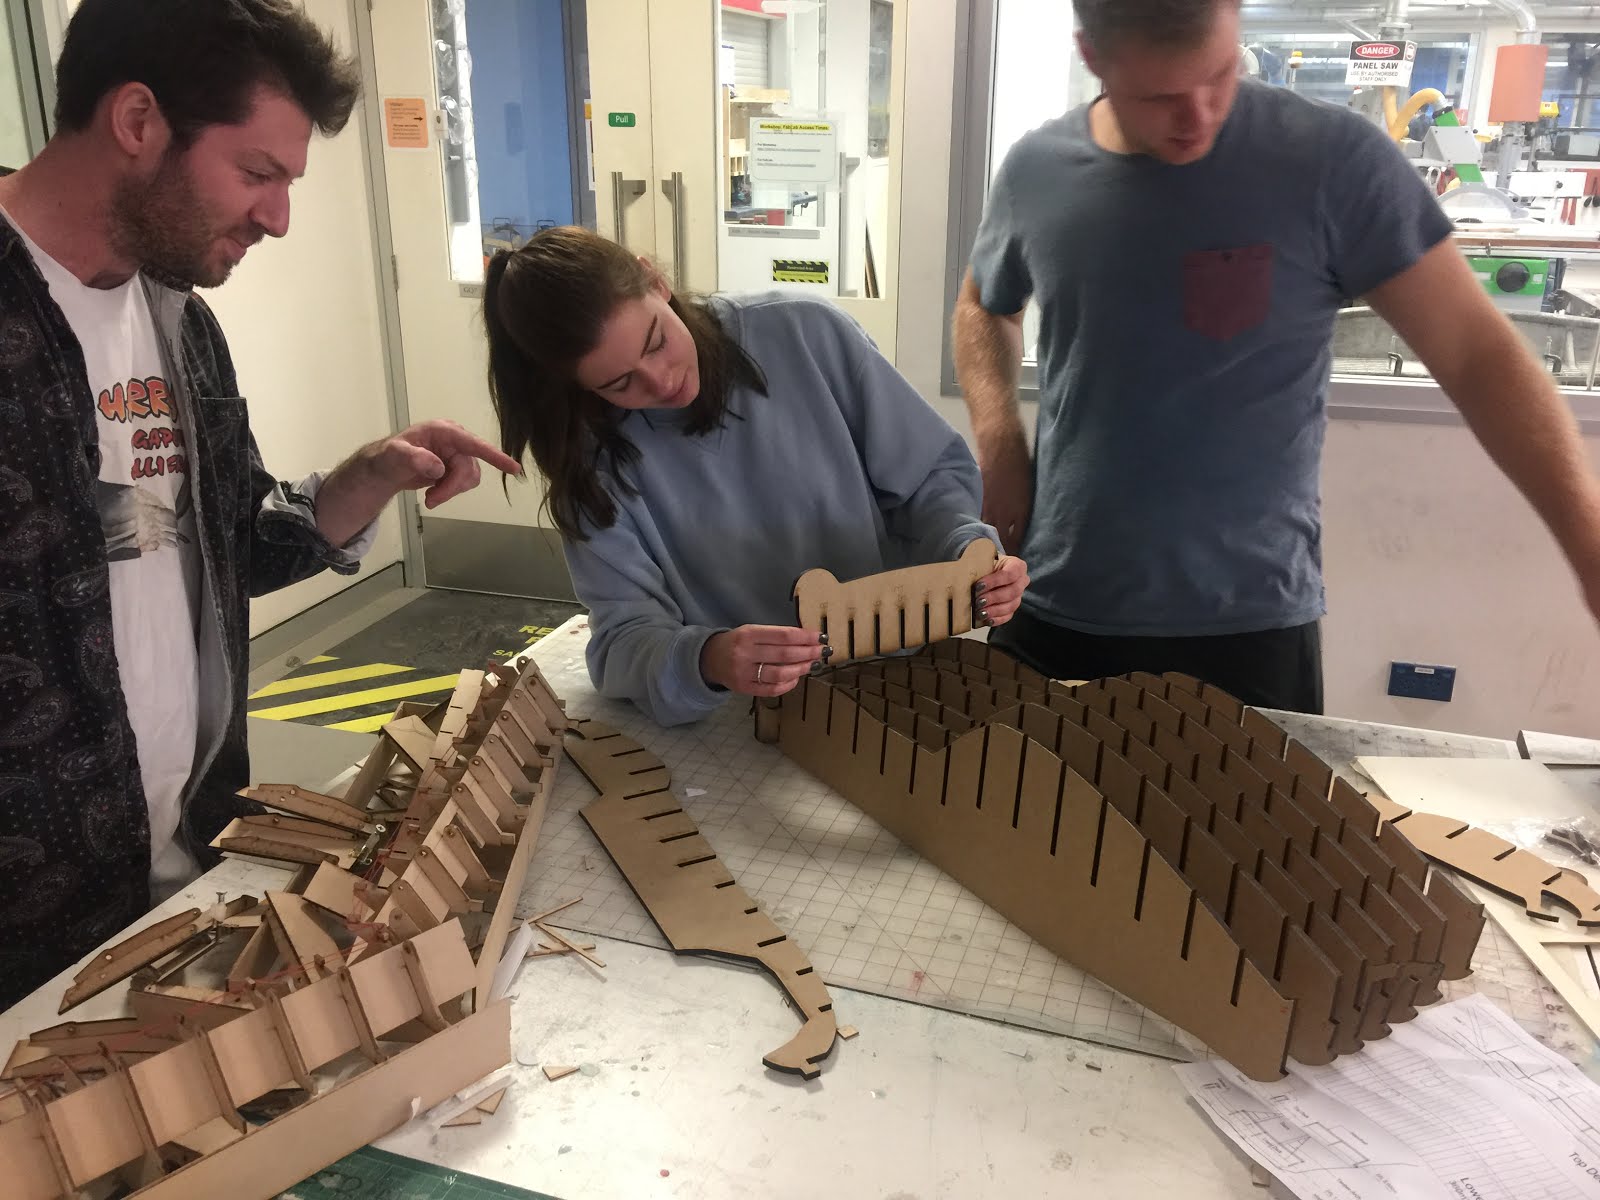
Step 1: Making template
The first step is to make a template of the shape of blister you want to achieve. To make the template, get two same size MDF and create the same shape in both the MDF. You can also CNC the blister shape into MDF for a more accurate shape. After the shape has been cut out, line the templates on top of each other so the blister shape is inline with each other. Then drill four (4) holes in each corner, about 10-15mm away from the edge.

Step 2: Assembling template and making tools
The second step is place a soft aluminium sheet in between the two templates and secure the templates and aluminium with four (4) bolts and nuts in the corners of the template. After, clamp down the template onto a bench with G-clamps to secure the template and not allow it to move when working on the piece. If needed, make more tools that can assist you in making the blister, for example you can make different shape sticks to help fit into tighter areas where the mallet and hammer cannot fit. From this step use the mallet and hit on the aluminium softly to avoid over stretching and creating holes and splits in the aluminium. Note: it is easier to stretch than shrink so take it slow and always check frequently to make sure you are on track.

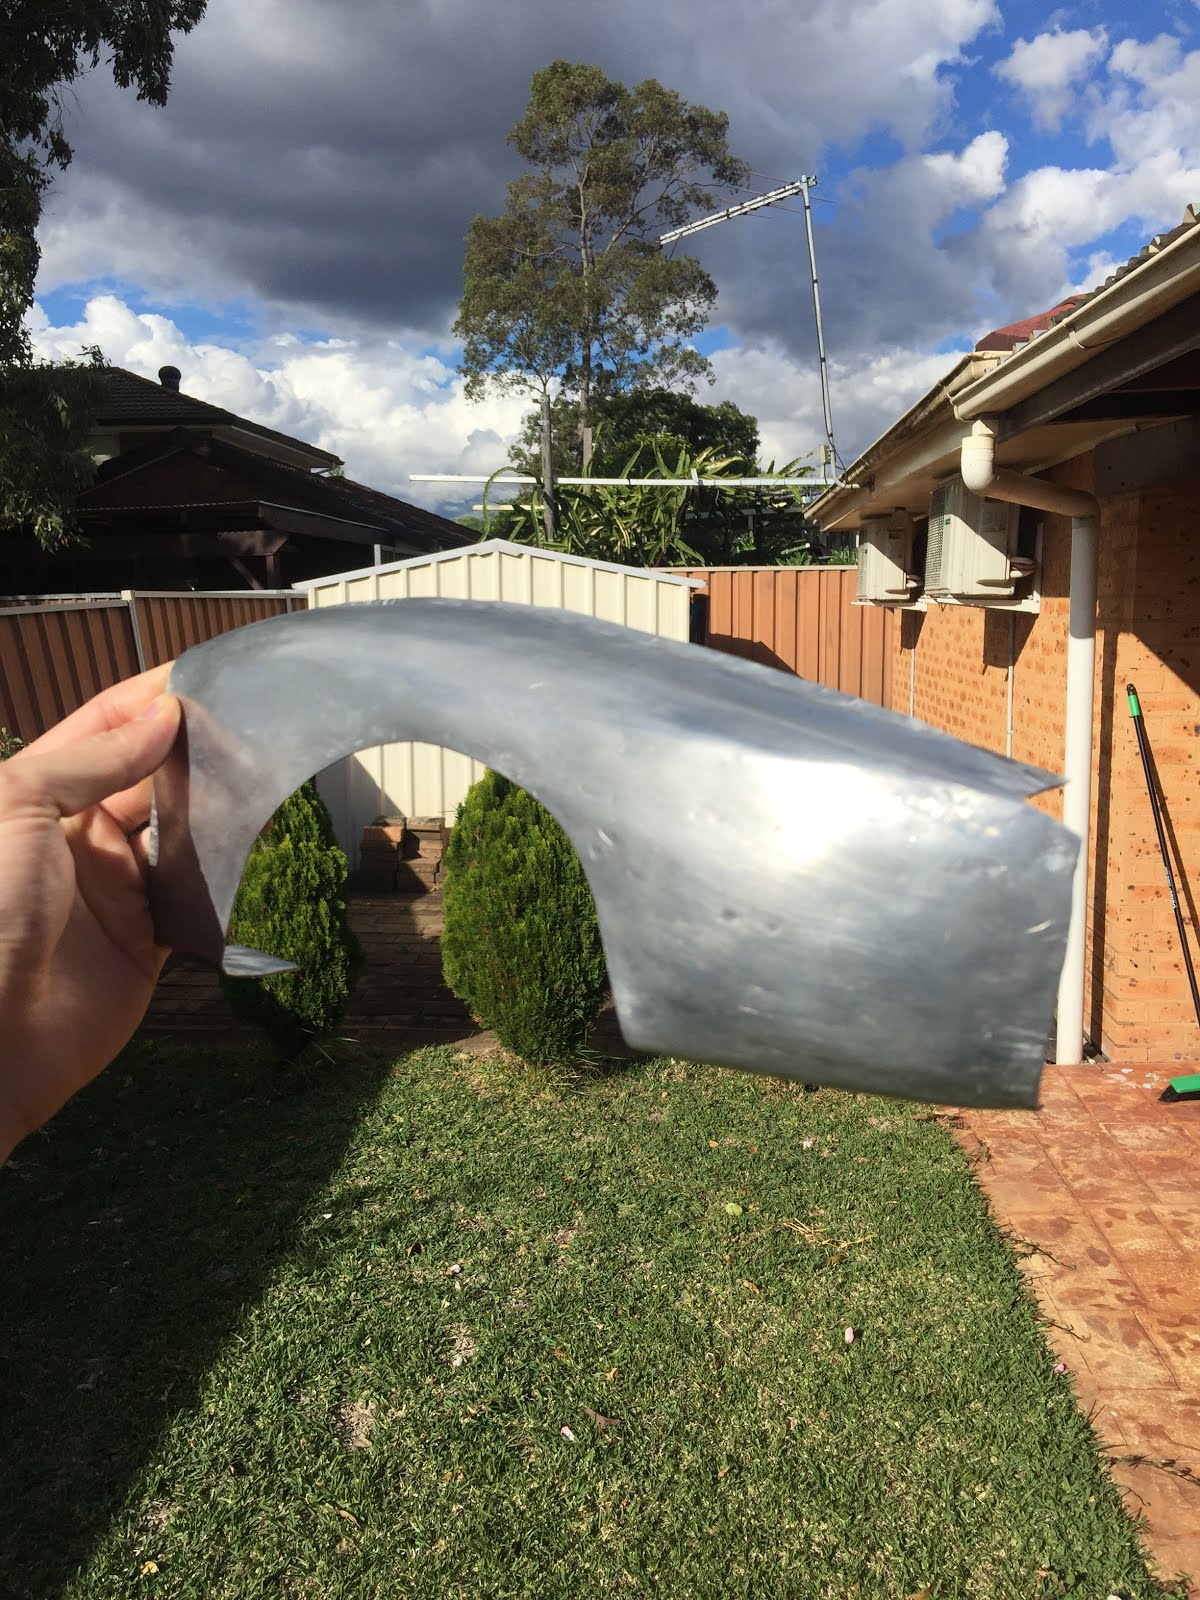
Step 3: Finishing the Blister
After you are happy with the shape of the blister, use a metal snip to trim the excess material around it leaving 10-20mm of material around the shape. Then file the edge of the blister to soften the edge to prevent cuts and splits. Then sand and polish the blister until it is beautiful!


Reflection
Through the Digital Making elective I have learnt new skills that will help with my discipline, Industrial Design, such as metal shaping, laser cutting software and progress documentation. I really enjoyed the course, as it was challenging it was also fun.